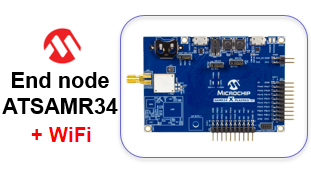
Hardware Setup
To demonstrate WiFi Sniffing over LoraWAN Network by connecting SAMR34-Xpro and ATWINC1500-Xpro, the connection is pretty straightforward through the EXT1 interface.

To get more information on the WINC1500 MCU Interface, follow this link: http://microchipdeveloper.com/wf:atwinc1500-mcu-interfacing
Note: If you have a ATSAMR34-Xpro Rev3 board (flip the board to check the revision), the EXT1_PIN10 marked PA23 on silkscreen is actually net to PA15. General recommandation is to double check with the schematics of the board which is available in the Chip Down Design Package: https://www.microchip.com/wwwproducts/en/ATSAMR34J18
By default on the ATSAMR34-Xpro board Rev3, the pin PA15 of the chip is not routed to EXT1 connector. However, in order to perform power down mode of the ATWINC1500, you need to made this pin available over the EXT1_PIN10 connector. With this change, the ATSAMR34 device will be able to drive the PIN10 of the WINC1500-Xro board. This pin corresponds to the CHIP_EN signal of the ATWINC1500 device. High level on CHIP_EN pin enables the ATWINC1500 module and low level places module in Power-Down mode. To be able to drive the ATWINC1500 CHIP_EN pin from the ATSAMR34 device, perform the following hardware modification on ATSAMR34-Xpro board:
- R303: Place a 0R Shunt
- J305: Cut the shunt


- In order to connect in LoRaWAN, you will need to be in range of your gateway. If you don’t have gateway, check the world map (https://www.thethingsnetwork.org/map) to see if your local community has gateway deployed around your location.
- Plug the antennas and always make sure you have the antennas plugged to your boards before powering it up.
- Connect the ATWINC1500-Xpro extension board to the EXT1 connector of the ATSAMR34-Xpro board.
- Connect the board to the PC through the micro-USB cables.
USB cable must be connected to the EDBG USB connectors of the ATSAMR34 kit. - Wait for USB driver installation and COM ports mounting. The USB ports powers the board and enables the user to communicate with the kits.
- Launch Tera Term program and configure the serial ports mounted with: 115200 bps, 8/N/1


