Connect with OTAA
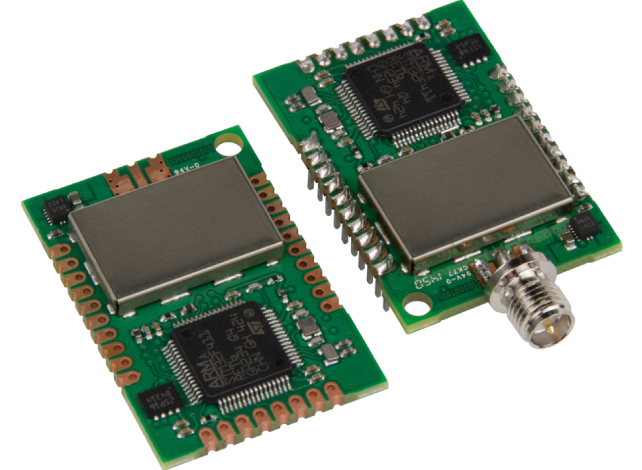
This chapter will tell everything about registering and connecting the mDot with OTAA.
Every mDot has its own unique Dev EUI (device address) that is printed on the sticker.

1. Register the node
1. Got the The Things Network Console
2. Register/Login
3. Create a new application
4. Register a OTAA device
1- Click on register device:

2- Enter the unique EUI of your node:

3- Click Register:

5. Now you'll be guided to the Node page:
1- Copy the App EUI

2- Copy the App Key

2. Open the sketch
1. Go to the ARMmbed environment
2. You should see the following files in the mDot_Workshop:

3. Open main.cpp

3. Modify the sketch
1. Configure join_mode to true
static bool join_mode = true;
2. Configure the config_network_deveui to your own EUI
static uint8_t config_network_deveui [] = { 0x00, 0x80, 0x00, 0x00, 0x00, 0x00, 0x9F, 0xA6 };
3. Configure the config_network_appeui to your own AppEui
static uint8_t config_network_appeui [] = { 0x70, 0xB3, 0xD5, 0x7E, 0xD0, 0x00, 0x03, 0xDD };
4. Configure the config_network_appkey to your own AppKey
static uint8_t config_network_appkey [] = { 0xD0, 0xC1, 0xDC, 0xC9, 0x83, 0x43, 0x7E, 0x4C, 0x54, 0xE7, 0x61, 0xE0, 0x8D, 0xDA, 0xA8, 0x2E };
5. Configure the message
// Message you want to send
    std::string data_str = "Hello!";
4. Compile the sketch
1. Click compile:

2. Now the code is compiled to binary file and automatically downloaded
3. Use this file to program the mDot in the next step
5. Next step
Upload the sketch to the mDot


